| Cloud Fax and Notifications API Documentation Schemas and WSDLs | Cloud Fax and Notifications API Forums Home |
Using Firefox 5 to Obtain an EasyLink X.509 Certificate
- Go to the website https://messaging.easylink.com/certgen (or, for the "test2" system, https://test2messaging.easylink.com/certgen.)
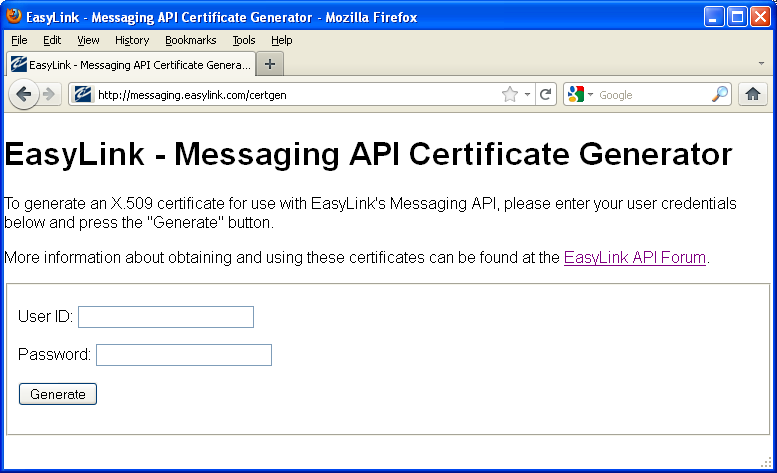
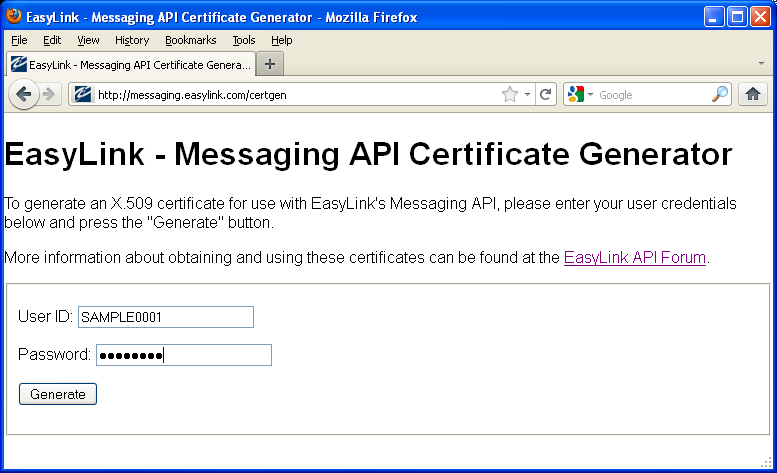
- Fill in your EasyLink user id (or registered email address) and password and click "Generate".
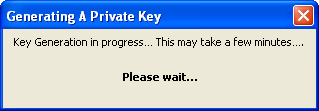
- A notification will appear as the key is generated.
- If the user credentials are valid, a certficate is returned.
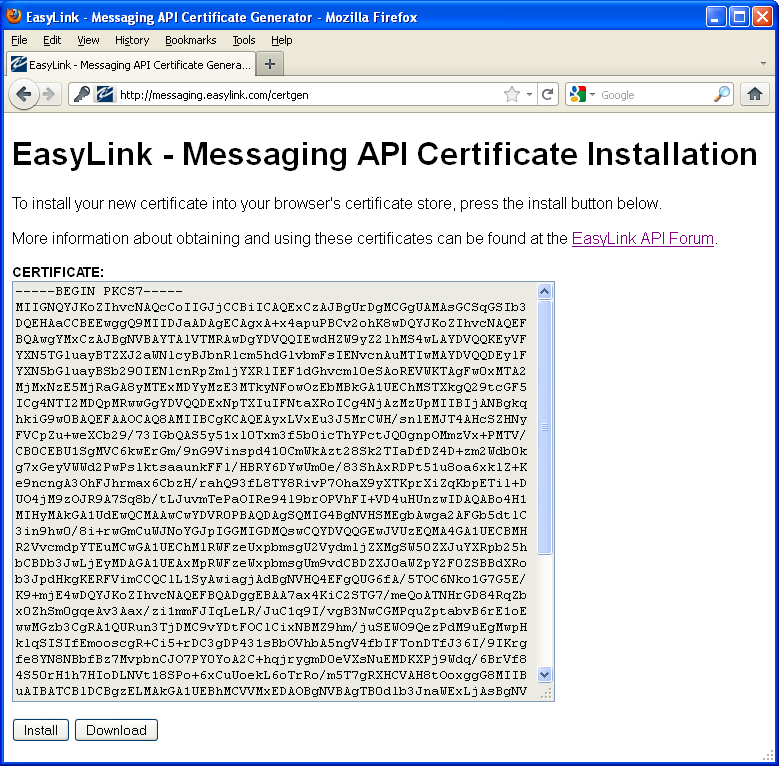
- At this point you have three options.
- Option 1: Click "Install" to install the certificate in the browser.
A notification that the certificate has been installed will appear.

Installation can be confirmed by clicking "Tools", selecting "Options", and then selecting the "Advanced" tab.
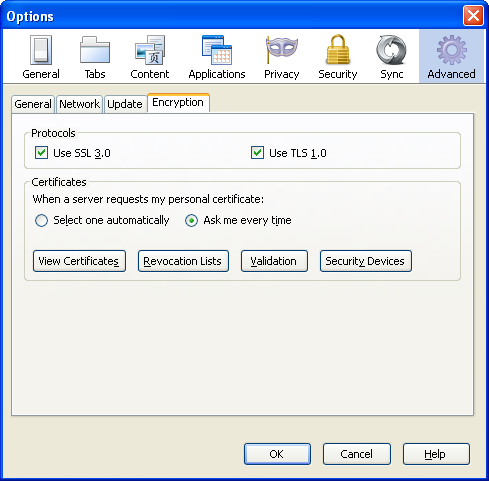
Click "View Certificates" and select the "Your Certificates" tab.
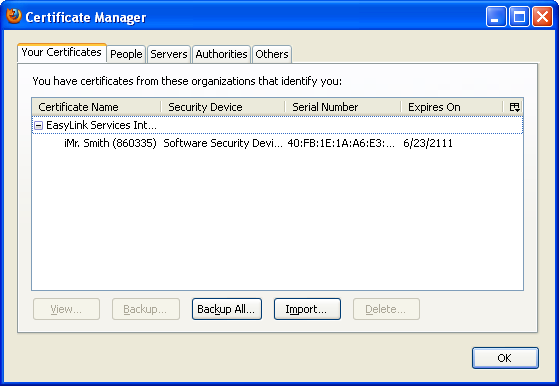
In order to be used with your application, the certificate and key must be exported from the browser.
- Select the certificate to be exported.
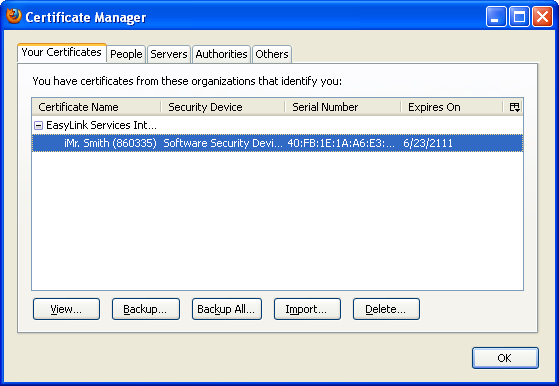
Click "Backup...".
- Enter a filename for the file. The type should be "PKCS12 Files".
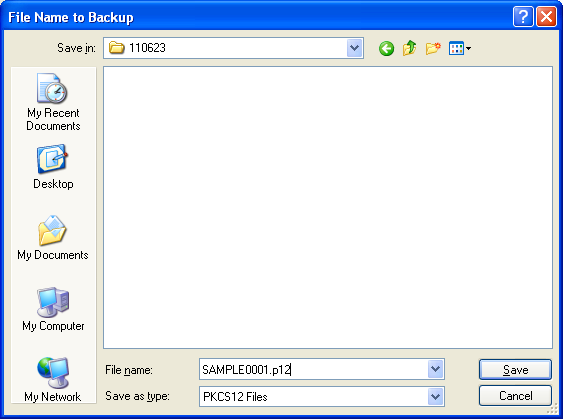
Click "Save".
- Enter and confirm a password for the keystore file.
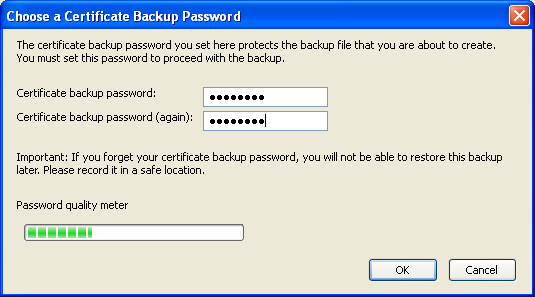
Click "OK"
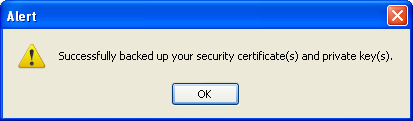
- Export should complete.
- Select the certificate to be exported.
- Option 2: Click "Download" to download the certificate as a file. Note that
this *only* downloads the certificate. The private key, which will be necessar
y to actually sign requests, must still be exported from the browser.
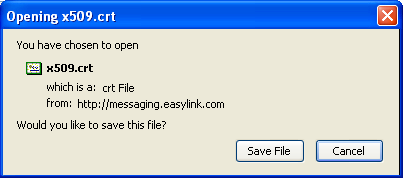
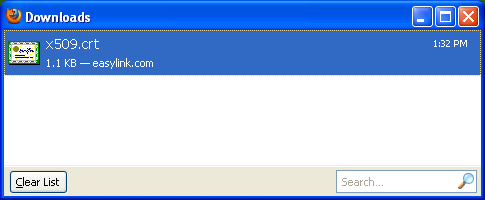
Click "Save File" and the browser will download it to a location determined by the download settings.
- Option 3: The certificate is visible as a PEM PKCS7 format certificate. This information may be copied from the browser screen and pasted into an editor. This only contains the certificate - the private key, which will be necessary to actually sign requests, must still be exported from the browser.
- Option 1: Click "Install" to install the certificate in the browser.
| © Copyright 2020 OpenText Corp. All Rights Reserved. Privacy Policy | Cookie Policy |
This information is subject to change. Please check frequently for updates. Modified October 6, 2020 |